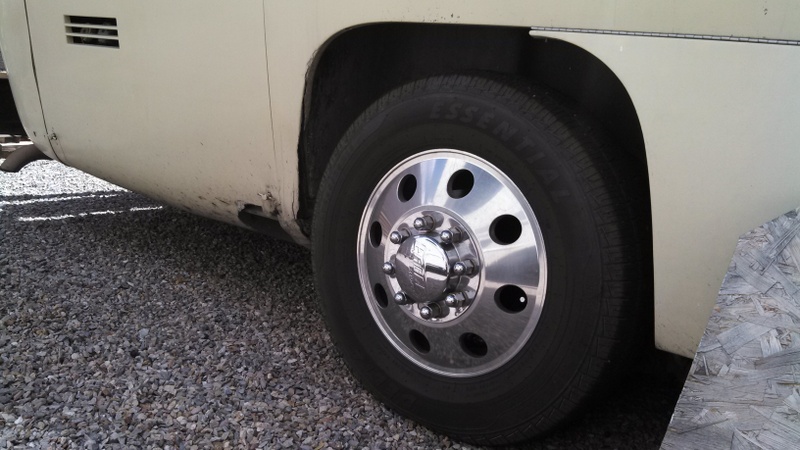
The classic GMC motorhome body is made up of aluminum and fiberglass-like material called SMC (Sheet Moulded Compound). The front and rear “caps” of the motorhome and the sides below the “waist” and made of SMC. SMC, like fiberglass, is somewhat brittle and when tires come apart, like they occasionally do on motorhomes, the SMC cracks and breaks when it is hit by the disintegrating tire. “Barbie” had some damage from a tire failure when we bought it – Uncle Dave had the right-rear tire come apart and make a hole in the propane door and the fender just in front of it. Since then we have had two more instances of tire failures – one on the same wheel as Uncle Dave’s and another on the middle wheel on the driver’s side. The driver’s side one did more damage there.
This post is going to cover the repair of the propane door. I intend to take some more photos of the fender just in front of the propane door when I begin that repair next week. I worked a little with fiberglass when I was a starving student in Omaha and had to repair a badly rusted VW bus but I really didn’t know much about it. I read all I could from the various GMCnet sources, I watched a few youtube videos and went to Finishmaster, our local auto-body supplier for some advice. They sell the Evercoat line of products for SMC and, after 3 trips, one for each phase of the repair, I have a nicely repaired propane door. Total material costs so far are about $210 for the supplies which should be enough to fix all the holes in the SMC – I hope.
 |
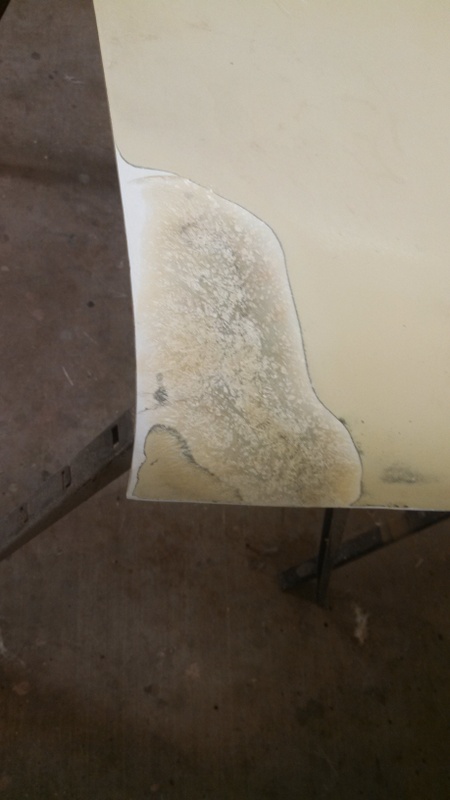
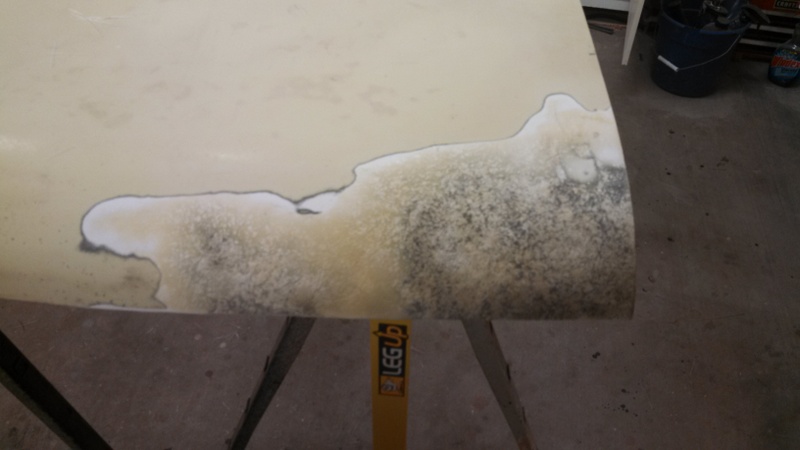
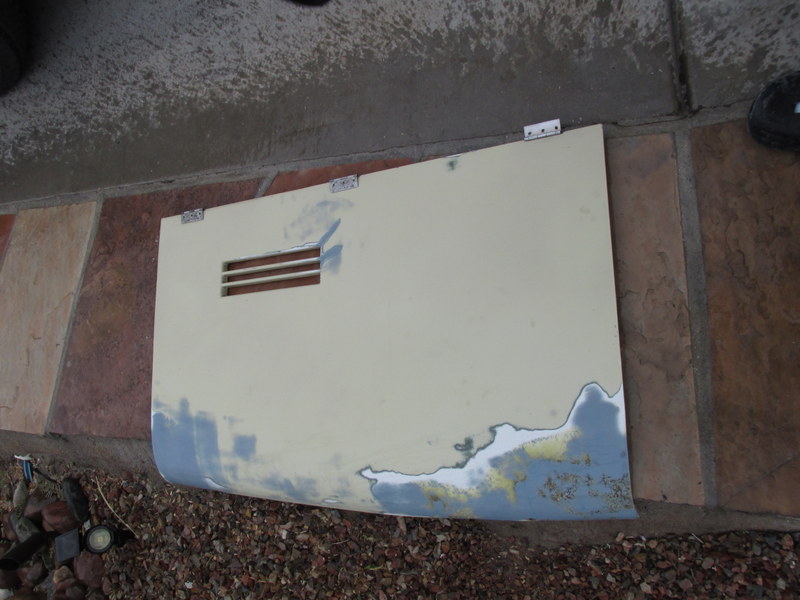
This is the way the propane door and the fender just in front of it looked when we bought the coach. The tire had come apart on Uncle Dave and done this damage. |
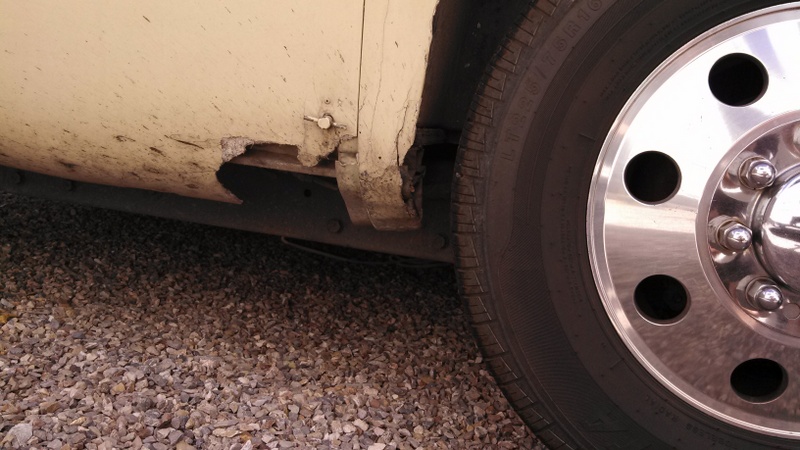 |
Closeup of the damage. |
 |
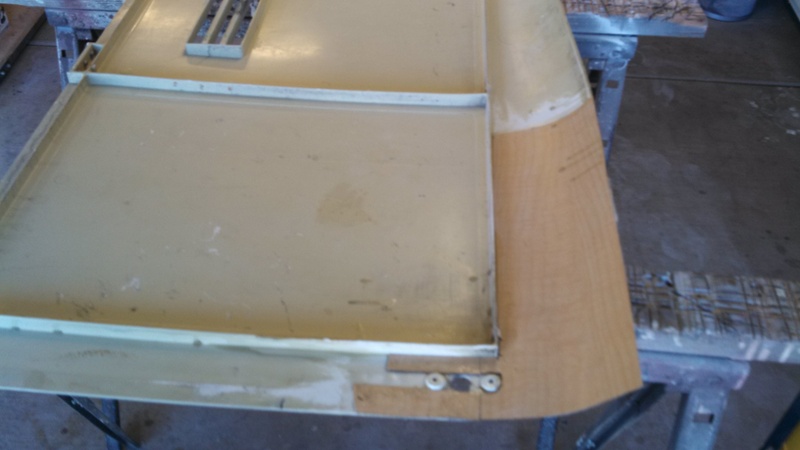
Once I had the door off I found that there was more damage than previously visible. The rear corner and latch was almost completely broken off. Things I saw on youtube suggested using a grinder and opening up serious cracks and breaks so I did. I used some scraps of Formica-type material as backing, bent them using a heat gun and then glued them into place using the epoxy resin for the SMC. |
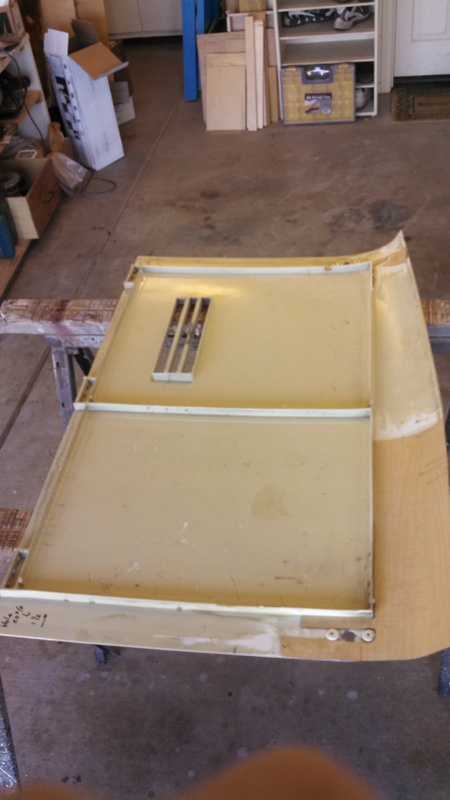 |
This is a view of the back side of the repairs showing the plastic backing that was epoxied into place and shaped using heat. The curve was made to match the fender-repair piece (next phase of the repair) that Fay Curtis supplies. |
 |
A closer-up photo of the back of the repair. |
 |
Support for the “crack” at the rear of the door. It also was epoxied into place. |
 |
This is after the first “layup” of epoxy resin and glass fabric was put over the “crack” at the rear of the door and supported by the Formica backing. I think that this was 2 or 3 layers of thick glass matting and resin. |
 |
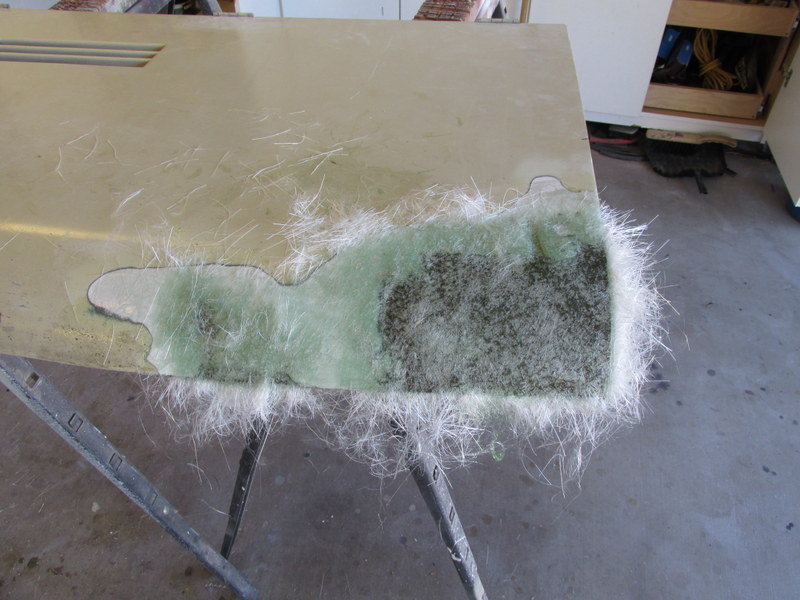
This is after the first “layup” of epoxy resin and glass fabric was put over the big hole and sanded off. This was after 2 – 4 layers of thick glass matting and resin. |
 |
This is the second layup on the crack at the rear of the door. The objective here is to bring the area up to near the finished level |
 |
This is the second layup on the missing section. Also trying to bring this up to the finished level – another 2 to 3 layers, more in one spot. |
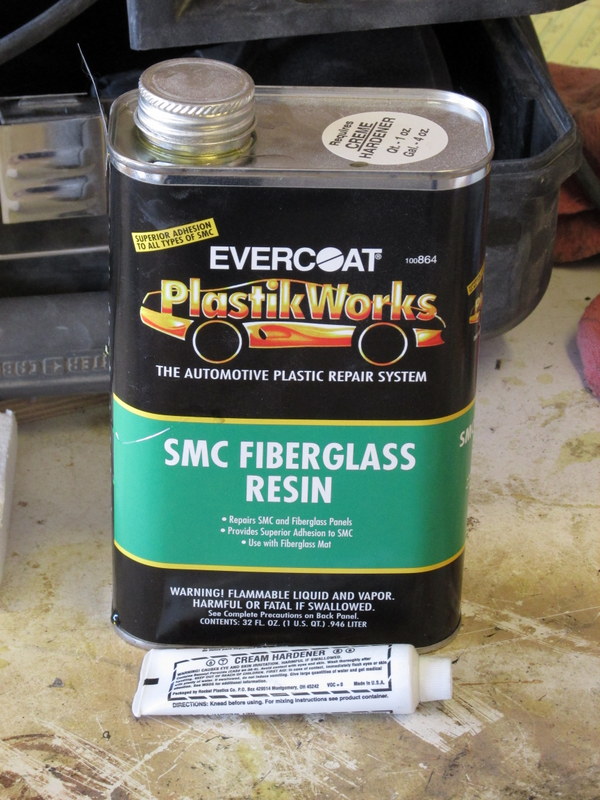 |
This is the SMC resin that I have seen recommended on the internet and by my local supplier. The little white tube is the hardener – a very small percentage is used in the mix. |
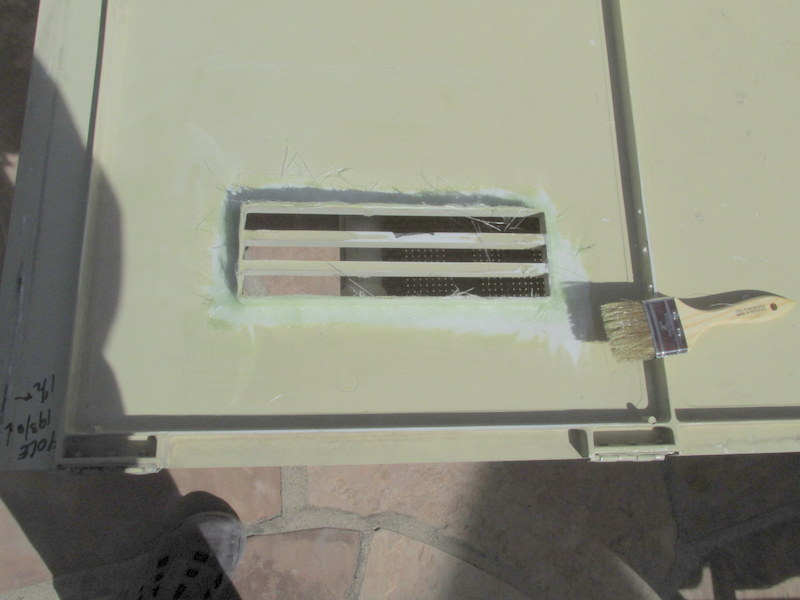 |
There were a couple of small cracks developing around the vent louvers so I decided by reinforce the frame around them in the back. In the front, I opened up two cracks with a sander so I could use some filler on them. |
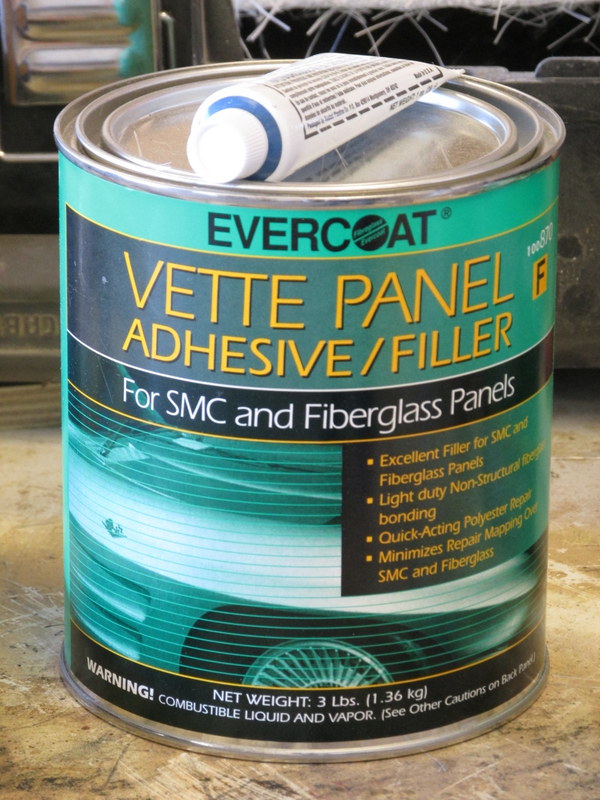 |
This is the next coat as recommended by the Evercoat company and by my local supplier. It can be used as an adhesive or filler. It sets up fast even in (Arizona) cool weather but does a great job of filling. It took two or three thin layers to get the low spots filled. |
 |
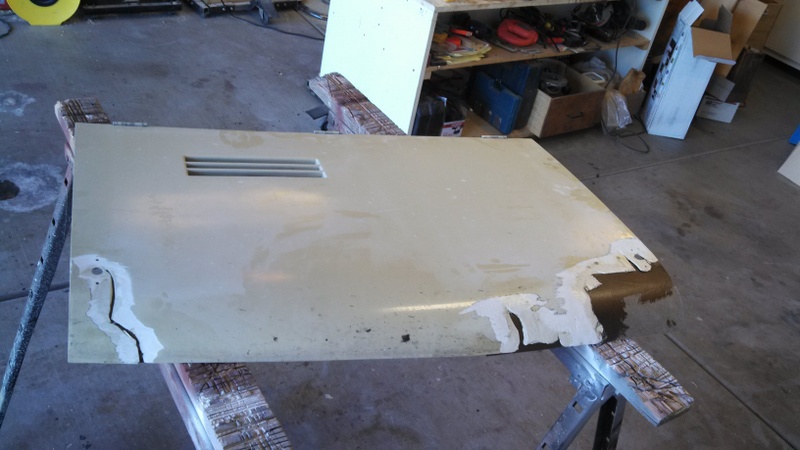
This is the door after the filler was applied the last time. |
 |
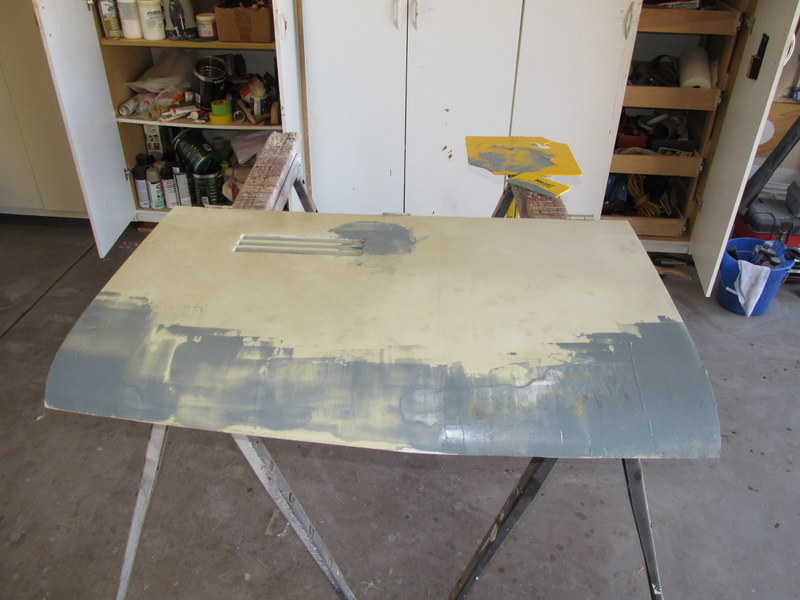
This is the door after sanding the filler for the final time. |
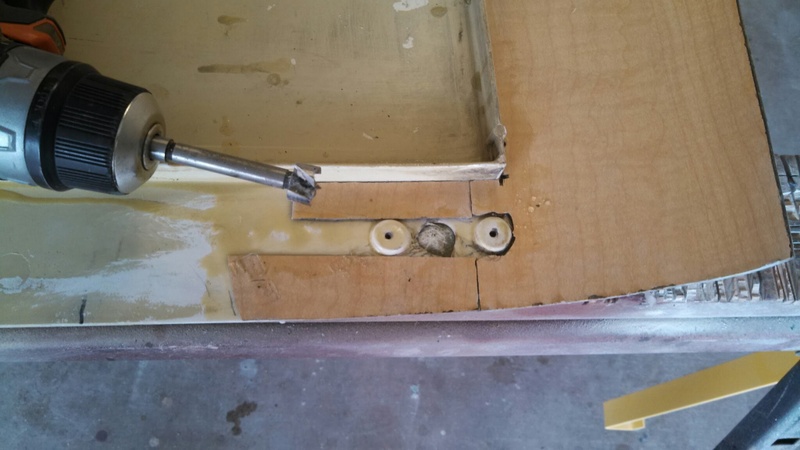 |
I used a Forstner bit to re-open the holes for the latches. I ordered a set of stainless steel latches from Applied GMC. |
 |
I bought a can of beige SEM primer and gave the “finished” door a light coat and was shocked to see lots of little pin holes and minor defects show up that I could not see before. Another visit to the supplier resulted in the purchase of this glaze that fills those minor defects. I was told that this was the normal process – it takes a coat of primer to see what you have missed. |
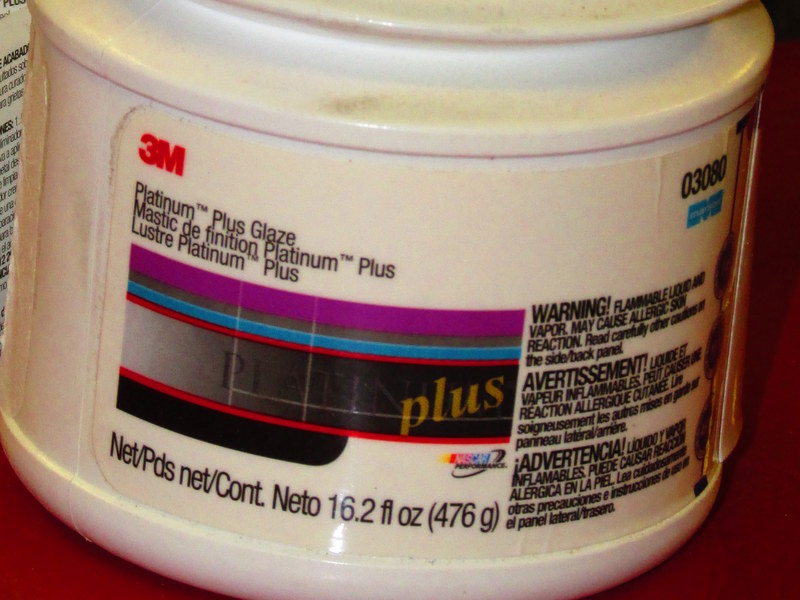 |
Here is a closeup so you can read the label. |
 |
Here is the final product, ready for reinstallation. |
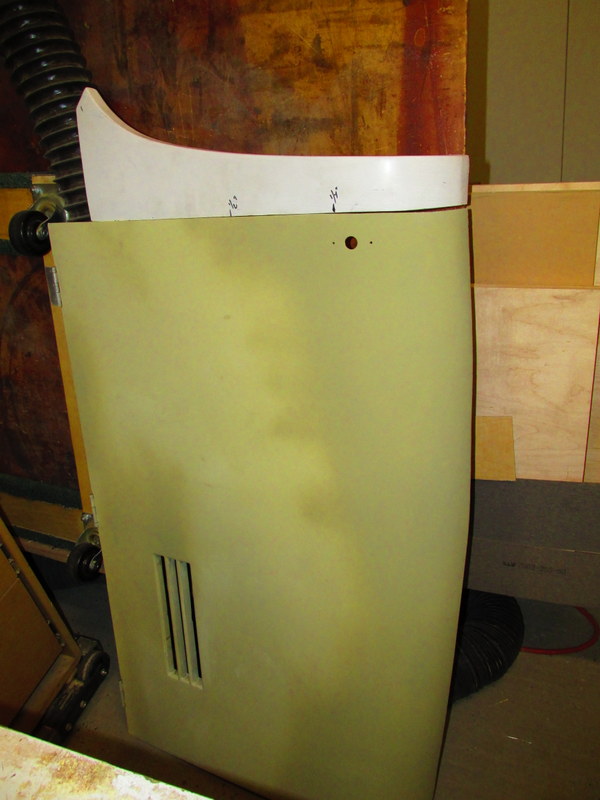 |
This is the fender repair piece that Fay Curtis makes. I used it as a guide to match the curve for the missing piece. The next phase of the project is to install that fender repair piece. |
No Comments Yet