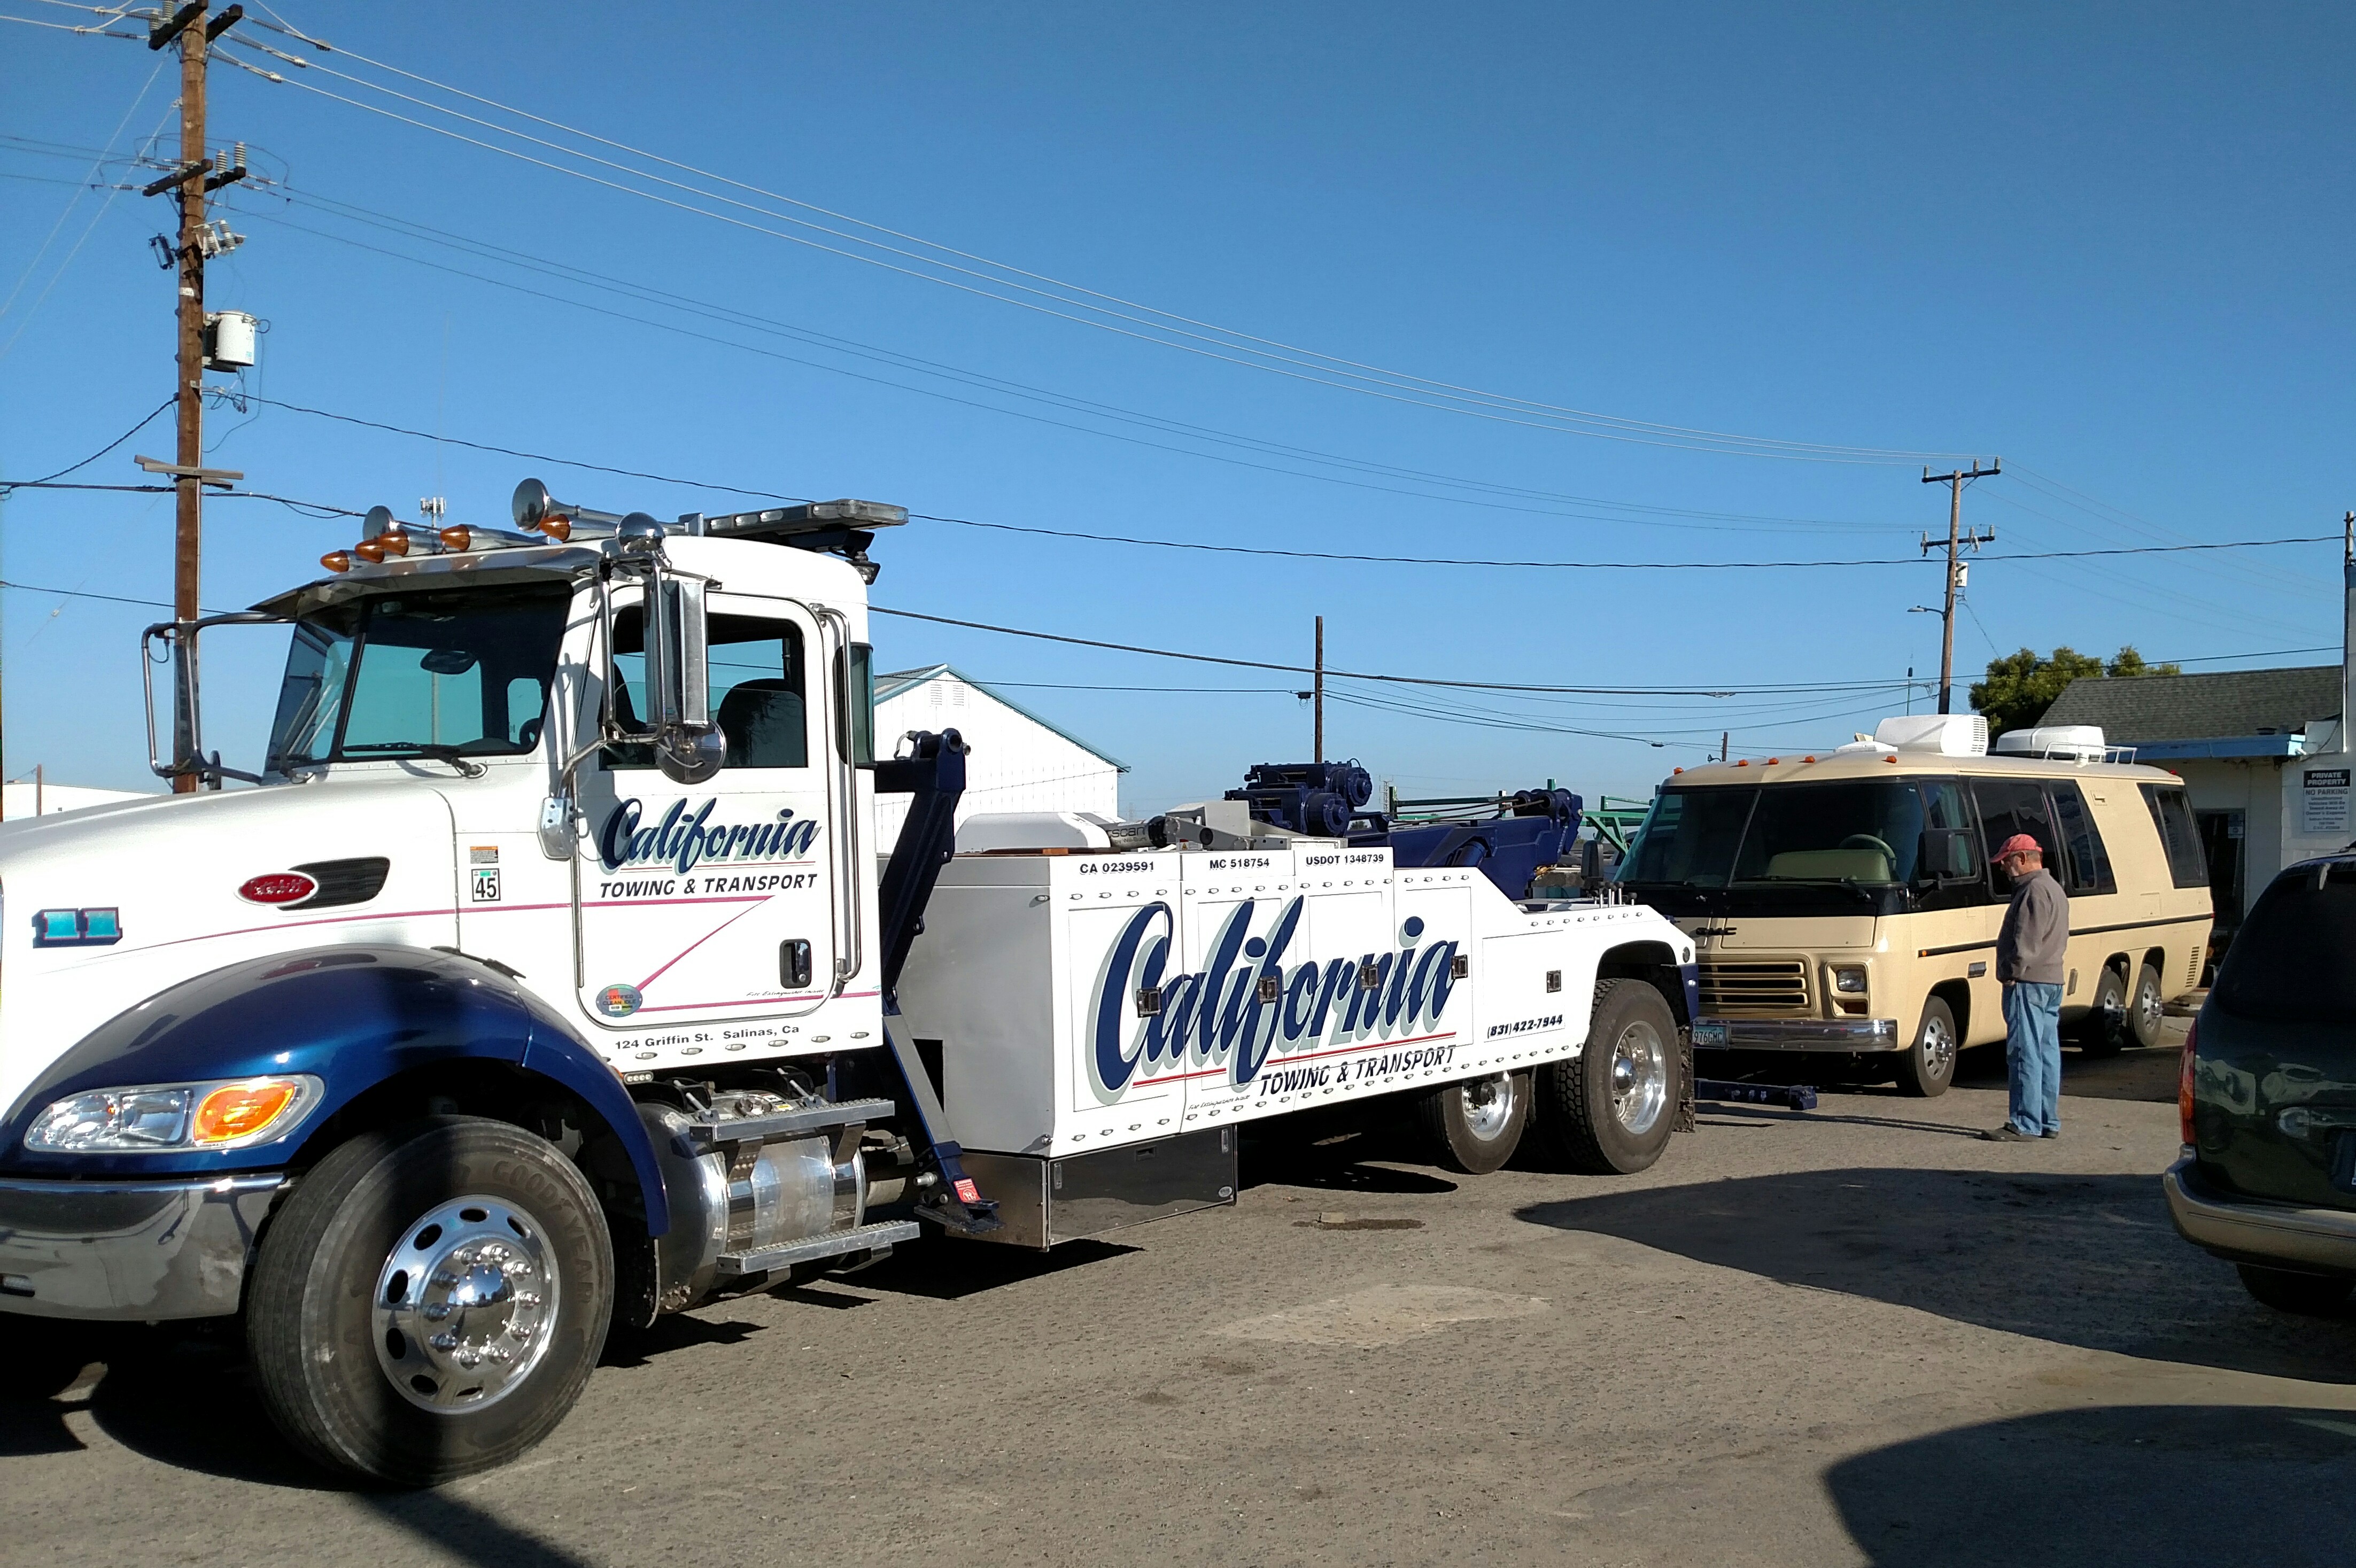
FiTech Notes – updated January 24, 2017

FiTech Notes – updated January 24, 2017
1/24/2017

Please note that the adjusting screw on the FiTech unit that is manipulated during the IAC Steps setting is the screw on the left side in FRONT of the throttle body – NOT the one on the left side that controls the butterflies.

11/12/2016 – Changing settings using the Handheld display

If you are changing parameters using the handheld unit you must do a “send to ECU” for each individual change on a screen. If you do not do that only the last change made on a screen will be sent. I verify each change with a “read from ECU” right after I make it.

11/9/2016 – Making changes to fix poor idle and stalls with advice from Randy VanWinkle

I have talked with several who have recently installed the FiTech and they have been having some problems with a good idle and with some hesitation / stumble at initial tip-in and during transition from coasting back to acceleration. Armand Minnie sent me a log capturing some of his issues including an occasional stall. In looking at the log, it showed that the AFR was pretty rich most of the time. When I install the FiTech, I noticed that the AFR settings for idle, cruise (1100, 3000 & 6000 rpm), as well as WOT were set by default too rich for our engines. The FiTech system is targeted at the hotrodding crowd that run aggressive cams and generally are wanting to be much richer so the engine will idle and cruise smoothly. Our engines run quite well at close to Stoichiometric (14.7 to 1 AFR). So for my install before I started, I changed the AFR values. I set the idle AFR to 14.5 erring toward the rich side. For cruise AFR, I set the value to 14.7. I think you could go slightly more lean but not really knowing the FiTech, I didn’t want to go any leaner at cruise unless I could monitor exhaust gas temperatures and because I wasn’t going to see this install after I left, I stayed conservative. I believe I set WOT AFR to 12.8. This guy I did the install for wasn’t going to be in the mountains with long hard pulls so I didn’t worry too much about this value. If you anticipate doing any mountain driving that will have long hard pulls, I would consider 12.4. On our Howell / EBL systems, we start at 13.8, but the system continues to go richer the longer you are under heavy load. I have seen it get down to the low 12s. The cruise and WOT AFRs are at 1100, 3000 and 6000 rpms. IIRC, I set all to the same number. Started and ran great without any hesitations, stumbles or coast / acceleration transition issues. I’m thinking that the self learning was having trouble getting everything sorted with starting values so much richer than what our engines require. Armand made changes to the accelerator pump parameters [I had to set all of the setting to +45] as well as decel open IAC [+10] parameters that helped but didn’t solve all the problems until he made the AFR changes I suggested above. Hopefully, this might help some who are installing the FiTech.

11/8/2016 – Making the log recorder work

If you want to record and retrieve a log file on the handheld then you must make sure the log directory is set up correctly – mine was not and the factory default file (see the first item in the note below) does not have it set up either. Plug the handheld into your computer via a standard usb cord, navigate to the log file folder and delete the “dashboard” folder. The handheld will then reinitialize that folder and record files in it.

11/8/2016 – This note was provided by Bob Miller who got it from Cody at FiTech:

Resetting to a stock calibration:
From the main menu go to the very bottom and select Write Cal To ECU.  Once in this menu scroll down to the second to last selection, it should say Default v8 T195. Once on this file select it and it will download to 100 percent. After this is done it will revert to the main menu. Now go to Go EFI Initial Setup, then Engine Setup, now input all of the parameters that are needed for your application, making sure to save each one individually. 

After you have entered your information and saved it go up and select Dash Board. Once in dashboard turn the ignition key off and wait for all the data to black out. Once this happens turn the ignition key to the on positon and start the car. 

IAC Steps:

Turn the driver’s side throttle adjustment screw IN (clockwise) half a turn to start with, with that done turn the key on and go to dashboard and find TPS and make sure it reads zero. If not, then shut the key off and wait for the numbers to go black then turn the key on again. Once that reads zero start the vehicle and find IAC Steps on dashboard. This number needs to be within 3-10 at warm idle. If the number reads zero then slowly turn the screw OUT (counter clockwise) until the IAC steps reads between 3-10. If the number is above 10 then shut the vehicle off and turn the screw IN as stated above and repeat the process until the IAC steps are between 3-10.

Reset Learn:

All Fitech EFI systems have learning procedures that the system uses to adjust the active fuel tables it is using for operation. Sometimes if there are outside problems such as bad misfires, exhaust leaks, or any other situation that could cause poor readings on the O2 sensor, the system will try to compensate in order to keep the car running. If this happens it alters the fuel map in ways that may not be optimal for proper running the engine normally.

To reset the learn is a very easy procedure. Go into the Go EFI Initial setup then find Reset Learn. Once in that menu find Reset All Learn, highlight this and push right on the joy stick to go to #1, then save that to the ECU by pressing IN on the joystick. Once that is saved go back to the main menu, and then up to Dashboard and select it. Once on dashboard turn the key off and wait for the numbers in the value side to go black. This mean the system has saved. You have now reset the learn function.

Cranking fuel adjustments:

With the key on go to the Go EFI Tuning menu, find Crank and Warm up. There you will see three cranking fuel selections. For cold starts add or subtract fuel from Crank fuel 65f, for hot starts add or subtract fuel from crank fuel 170f. Changing these settings should help with your start up issues along with setting the IAC. A good starting point is to change the settings in intervals of 10 to find which way you need to adjust the system to work better.

Accel pump/ Fast Accel adjustment:

If the system is having a hesitation or bogging issue, and you IAC steps are between 3-10 at warm idle, then your next step would be to adjust the accel pump function to increase or decrease the fuel added on acceleration. To start with turn the key to the on position and then find Go EFI Tuning on the main menu and press enter. Then find Accel pump and press enter. You will see a menu with multiple different settings, you need to focus on the Accel pumps (20f, 65f, 170f) and Fast Accel (20f, 65f, 170f). These setting adjust how much fuel, at varying temperatures, the system injects when you accelerate. Accel pump is used for any normal throttle input, Fast Accel is for any fast throttle inputs or Wide Open Throttle.

Hesitation: If the vehicle has a hesitation (when you step on the throttle and the engine does hangs and/ or almost dies and then suddenly take off) this normally is a lack of fuel so you would fix this by increasing the Accel Pump (for normal throttle input hesitations) or Fast Accel (for fast throttle or WOT inputs). You would make changes starting in increments of 10, to the temp range that you are finding the issue to reside in. 

Bogging/engine loads up/slow to respond: If the vehicle is bogging (when you step on the throttle and the engine is slower/sluggish to come up to a higher rpm) this is normally caused by over fueling. To fix this you would need to reduce the amount of fuel it is injecting as an accel pump shot. To do this this decrease the Accel Pump (for normal throttle input hesitations) or Fast Accel (for fast throttle or WOT inputs). You would make changes starting in increments of 10, to the temp range that you are finding the issue to reside in.

Choosing a cam selection: 

Cam selection is based on vacuum load of the engine. Cam 1 is for 15Hg or above, Cam 2 is for 10Hg to 15hg, Cam 3 is 8Hg to 10Hg, Cam 4 is 8Hg to 6Hg. These are estimates and you may need to switch between them if the vacuum load is between two different cam settings to get the engine to run better for your application.

Idle Return:

If the engine is not returning to idle quick enough for your liking or is dropping too quickly and killing the engine then you may need to adjust the rate at which the injection system comes to an idle. To do so you need to go to Go EFI Tuning, then find and select Idle Control. Once in this menu you will see several settings, the only one we are going to work with is Decel open IAC. This number should be at zero as a base setting, by going negative you are reducing the amount of time it takes to return to Idle, and by going positive you are increasing the time it takes. Normal procedure of adjustment is to add or subtract 10 to start with and then adjust it to your liking or what the engine needs. Then once the setting is input save it to the ecu by pushing the joystick IN, the handheld will show Send To ECU Successful. Once this is done make sure to go back to the dashboard and turn the key off until the numbers clear out on the value side. This shows that the system has saved.

AFR Target Adjustment:

AFR: Air Fuel Ratio. Some vehicles may have greater needs for fueling that the self-learn may not be able to adjust in a great enough amount to operate correctly right out of the box. The injection unit is always trying to maintain a targeted AFR throughout its operation. It is either adding or taking away fuel at any given time from its current fuel table in order to do this. The AFR target is what the computer is constantly adjusting for (the higher the number the more lean the mixture, the lower the number the more rich the mixture is), but some engines need different fueling depending on the CID and cam they have. To adjust these numbers you must go to our Go EFI Tuning menu then to AFR targets, typically adjusting any AFR target should be done .01 at a time either up or down as the AFR has drastic effects on how the engine runs 

Once in this menu you will see 10 settings you can adjust. Number 1 is for Idle AFR which can range from 13.4 to 14.7 on average depending on the engine. Adjusting this setting will help idle quality and takeoff from an idle. The 1100, 3000, 6000 at 45kpa cruise are your cruising AFR ratios, these can vary from 13.8 to 14.7 on average depending on the engines needs and your desired fuel economy. The cruise AFR only effects cruise so it will not affect your acceleration or other AFR settings. WOT 1100, 3000, 6000 are your acceleration enrichment settings and are used for adjusting the desired fueling for accelerating under either part throttle or WOT. The average for these settings only ranges from 12.4 to 12.7, any accelerator needs beyond that will require one of our technicians to go over with you. Boost 1100, 3000, 6000 180kpa should stay within 11.5 to 11.7 on most engines with boost, any further adjustments to your boosted AFR settings should be brought up with one of our technicians.    


We Didn’t Make It to Coos Bay This Time

We Didn’t Make It to Coos Bay This Time

We didn’t make it to the Coos Bay rally this time – instead, we experienced the difference between the Classic GMC Motorhome community and all others and, overall, had a pretty good time to boot. On Thursday, September 29th, the third day of what was to be a three-week trip to the Fall 2016 GMC Western States rally at Coos Bay our engine basically disintegrated just outside of King City, California.

It was our plan was to visit friends and family in the San Jose area and then more friends and family in the Sacramento area before joining a caravan to the rally. Just 5 miles short of King City, where we planned to spend the night at San Lorenzo County Park, we heard some loud “crackling” sounds coming from the engine. In just a few seconds I pulled over to the side of the highway and shut the engine off while noting that none of the instruments indicated any trouble. Looking around though, I saw large clouds of steam billowing out of the exhaust pipe in the back indicating at least a blown head gasket and possibly worse.

I called Good Sam Roadside Assistance and told them that I had some engine damage and needed a tow to “the nearest, willing and qualified service center”. They did their usual, trying to find a place to tow us for some major work. Back in 2007, at the end of our first year with the GMC, we broke down with a loud engine knock in Jackson Hole, Wyoming and Good Sam did find a qualified service center about 90 miles away and did not hesitate to tow us there for an engine replacement.

This time they seemed to be less interested in “qualified” and were more focused on “nearest”. They said they had found a place that was only 5 miles away in King City and their only requirement of the service center was that it was “willing and qualified” (apparently, in their own opinion only). The King City shop turned out to be a tire store with some auto repair capabilities and the mechanic on duty changed his mind about “willing and qualified” when he saw the coach. We had the tow truck take us to the county park for the night where we called Good Sam and asked to be towed somewhere else on Friday morning.

On Friday morning Good Sam said they had found a shop in Salinas – 50 miles farther North – that said they could fix our engine. We had lived and worked in the Salinas area for many years before moving to Arizona so I was curious about the shop. I got the name and number of the shop owner and discussed what was required and persuaded him that he did not have the knowledge or the equipment to work on the coach. Good Sam, however, insisted that, since he initially said he could do it, he was “willing and qualified” and would tow us no farther. We arrived at the shop by mid-day on Friday and my suspicions were confirmed. It was basically a local one-man auto repair shop with a lot full of cars waiting to be repaired – a nice guy but not someone I was going to trust with my GMC. Having lived there, we called friends who might have ideas for a different shop but there were none we felt comfortable with.

Frustrated at the lack of choices in such a sizeable town, I called Manny Trovao in San Jose to see if he had any ideas. For those not familiar with the GMC: Manny is a legend in the GMC community for his transmission work and also for front-end and braking systems, not to mention diesel conversions. I had already asked Applied GMC what they could do but Jim Kanomata was on his way to the GMCMI rally in Ohio and Nick, his second-in-command, told me they were all backed up and could not even look at it for a month. Manny, with no hesitation, told me to “bring it to my house”. He said he would help as much as he could but was leaving for an 11-day cruise in just over a week and was very busy. I would have to do most of the work myself. Not seeing much choice I agreed – still hoping it was only a head gasket.

By this time it was late on Friday evening so we decided to spend the night in the repair shop’s parking lot and call the tow company to take us to Manny’s on Saturday morning at our own expense – $825 (we are appealing this with Good Sam – update 11/15/2016 our appeal was approved for the full amount – we are Good Sam fans). We arrived at Manny’s on Saturday around noon. Manny tried to start our engine and declared it to be “trash”. It would have to be replaced. We left to visit our son and his family who we had not seen for about a year and a half. I told Manny I’d be back on Monday morning to get started.

On Monday I discussed engine replacement alternatives with Manny and my first choice would have been a rebuilt engine from S&J in Spokane, Washington but they had no rebuildable 455 cores. They did have a 403 but did not have the proper intake manifold and pan for the motorhome. Another choice was a rebuilt 403 from Peter Huber’s coach which had been demolished in a tow truck accident – I did not like the price and, most importantly, did not trust the rebuilder. Finally, Manny suggested the possibility of using the engine from a 1975 23-foot coach that had been sitting next to his driveway for at least the past 10 years. Manny drove it there and parked it 10 years earlier and it had not been touched since. The engine had only 52,000 miles on it and had been maintained by the local county government during that time. I agreed that was what I wanted to do.

On Tuesday, October 4th, 7 days before Manny was to leave for his cruise, we got started removing the engine from the old coach. Getting that engine out took until Wednesday morning. Now the task for me was to get my engine out while Manny prepared the “new” engine for use with a new timing chain, new pan, head, and intake manifold gaskets, and some meticulous cleaning.

At about 11:00am on Wednesday I got a phone message from George Beckman that said he also had problems getting to Coos Bay because of a problem with his transmission. He was about 4 hours away from Manny’s and, if I needed help, he would be there by the end of the day. How lucky could I get? First Manny provides a work place, knowledge, tools and even an engine and now a fellow GMCer has offered to help remove and replace the engine. I think I would still be there if it were not for George.

George and Ruth arrived late on Wednesday afternoon and George and I, along with Manny, worked from 8:00am until about 5:00pm or 6:00pm every day for the next 6 days. Manny left on schedule on Tuesday morning. George and I got the “new” engine started on Tuesday afternoon. On Wednesday, October 12th we gave George and Ruth a ride home to Colfax, California, about an hour North of our second son’s home in the El Dorado Hills area near Sacramento. The engine ran very well – much better than the old engine had been running before disintegrating.

We didn’t make it to the Coos Bay rally but we did have our own little “Minnie” rally, learned a lot and solidified our friendships with Manny, his wife Deo, and George and Ruth Beckman.

Own a GMC? Why you should join a GMC club.

Own a GMC? Why you should join a GMC club.
GMCWS Logo

GMCWS Logo

People new to the Classic GMC Motorhome are amazed about the amount of information and help that is available to them – primarily via the internet (GMCnet and now Facebook) but also via GMC clubs. All they have to do is ask a question and people are “crawling out of the woodwork” to help them. There is even a list of people who are willing to try to help people who are just passing through their areas with their GMC’s.

It is not obvious, so let me point out that the vast majority of that valuable GMC-specific information is available because GMC people (GMCers) have documented it – almost always for presentations at various club rallies. In fact, without the GMC clubs we GMCers would probably be like the owners of most other classic motor homes … mostly on our own.

GMC Western States, GMC Eastern States, local clubs and now GMC Motorhomes International (on June 1st) make our technical information (developed as tech seminars for rallies, written for newsletter articles and recorded in databases) available to anyone who needs it. GMCMI will even make their online parts interchange database available to anyone who needs it – member or not. The only information the clubs keep as “members only” now is membership data.

Attending rallies is not the primary purpose of joining clubs – contributing to their support is. Running rallies, publishing data, and maintaining web sites costs money. Joining the clubs – the bigger clubs who generate and distribute the information, and your local club where there is lots of information, help, and friendship – supports those activities.  And to all you younger GMC owners, just remember, a lot of us may be senior citizens but, when it comes to GMCs, we are all still kids and, when we get together we cannot stop talking about our toys (GMC’s).

Carol and I belong to GMCMI, GMCWS, and GMCSJ (Saguaro Jetset – local to AZ and NM).  We cannot usually attend GMCMI rallies because they are too far away but we have managed three of them in our almost 10 years of ownership. We have attended all of the GMCWS rallies in the past 5 years and we attend most of the GMCSJ rallies each Winter. Our membership in GMCMI has always been to support the club’s mission in spite of our inability to attend most rallies.

Without your support, the clubs will not be able to continue developing, maintaining and promoting the new products and ideas that GMCers will continue to develop and present at rallies. Your membership fee supports the clubs’ missions – preserving and promoting the Classic GMC Motorhome. Join some clubs today.

Armand Minnie

Returning from the GMCWS Rally at Temecula – better mileage?

Returning from the GMCWS Rally at Temecula – better mileage?

The coach ran so well with the new FiTech fuel injection system that we drove home without our normal overnight rest stop. Not that the trip is that bad normally, but with the constant stress of listening to the engine do its occasionally rough running – just short of fuel starvation – I hate driving all day. This time we drove the 9 hours with no trouble at all and I didn’t feel anywhere as tired as I normally do, even after a shortened day.

I measured the mileage for 1,062 “Barbie” miles (10% more than actual) and got 8.5 bmpg vs. my normal 7.0 or less. I will continue to monitor the mileage for a while to see if that holds true.

Other than how the coach ran I cannot think of anything else to report. The weather was very pleasant but not hot enough to tell if the “vapors” are really gone. Before our next trip I will be fixing the main waste tank valve and running a ground wire directly between the battery and the starter (a good suggestion from Ben Price at the rally).

Temecula, CA for the GMC Western States Spring 2016 Rally – Day 1

Temecula, CA for the GMC Western States Spring 2016 Rally – Day 1

Parked
We just finished the first day of our 59th trip in our “Barbie”-mobile and there have been several notable things happen already. Actually, it started on Friday morning when I started to get ready for our Sunday departure. We had dry camped for two nights at the Marana Bluegrass Festival and, since that was not a campground, the holding tank had not been emptied. Since I have a macerator pump I can empty the tank at my house using the sewer cleanout near the front door. I tried to use the pump and it did not work. It was frozen solid for some reason. I had to get it fixed so I ended up taking the coach back down to the storage lot, getting it up on ramps, and replacing the pump. Fortunately there is a great RV supply store in Tucson called Sandy’s West RV Center – they have everything, mostly in stock.

We left on time – 9:30 – but, just before leaving I tried connecting Carol’s computer to our inverter and it didn’t work. The inverter was putting out about 90-95 volts. It was the el cheapo from Harbor Freight and it had lasted more than 5 years. Well, we were planning on stopping in el Centro for the night and there was a Harbor Freight store there and, it was a 10-minute walk from the WalMart we decided to stay at – see the photo above.

The first day with the FiTech EFI went really well. It is having some issues with low speed response to the gas pedal – I checked with FiTech and it is learning. The guy suggested I try some “accelerator pump” settings but did not provide any hints for how to get started. I have asked for some samples and hints so we’ll see.

The biggest news was gas mileage. I have not been measuring mileage for the past couple of years because nothing ever changes it. The only modification I ever made that affected it was installing new mufflers. That probably increased my mileage by about 10% (measured over a 7,000-mile trip) – only because the old ones were bad and one was restricted. The point is, I know that I get about 7 MPG normally. When I stop for gas I stop based upon how many miles I have driven since filling the tank. I do not depend on the gas gauge, I put gas in about every 200-250 miles or less. When I start pumping I compute the approximate number of gallons I will need by dividing the number of miles by my average 7 MPG. It usually works and I’ll wait until it keeps happening before I get too excited but I could not get any more than 23 gallons into the tanks after I had gone 198 miles. That would be 8.6 MPG which would be amazing – I didn’t do it for the mileage, I did it for performance and reliability. Stay tuned.

FiTech Fuel Injection with Fuel Command Center Installation

FiTech Fuel Injection with Fuel Command Center Installation

This post is actually a compilation of some emails I wrote to a couple of other GMCers while the process was going on. Sometimes things are repeated but I did try to update a subject each time I mentioned [updates in brackets like these] it but it might still seem a little scattered. Sorry.

When we went to the GMCSJ rally at Tombstone we got the opportunity to talk to Jerry Work and see his FiTech EFI system. I took photos of his Fuel Command Center mounted on the passenger side of the radiator and then shot some photos of the throttle body with views of linkage and hoses. Those photos and one of the underside of my engine hatch are just below:


The following are separate sections, divided by day, that describe my progress.

I ordered my FiTech system soon after the Tombstone rally but the Fuel Command Center was backordered until March 15th. They did send it on that day.

On March 23rd I wrote the following:
I got the Fuel Command Center installed right where Jerry installed his. I used 1″ aluminum angle  to attach the FiTech-supplied brackets to the radiator housing instead of the white plastic panel in the photo of Jerry’s. But, installing the Command Center is as far as I got before I had to install 130 feet of baseboard in a rental house and the visiting grandkids arrived. The kids just left this morning. I have to finish the baseboards in the rest of the house – another 150 – 200 feet – this week while hosting Carol’s Mom’s 90th birthday party on Thursday. After those things are done I hope to install the EFI and then drive it to the Marana Bluegrass event on 4/8-4/10 [didn’t make that date]. If I don’t make that I will have to fit it in with my son’s visit a few days later. I definitely will have it in so we can drive to the GMCWS rally in Temecula.

The instructions look pretty easy except for drilling a hole in the exhaust pipe although Jerry said that was a piece of cake [it was. Just jacked up the right front side a couple of inches and removed the fender liner]. The instructions say that you cannot run the engine with the O2 sensor installed and no EFI working – it will damage the sensor. I confirmed that with the FiTech people. That means, if I want to be able to drive it, I have to be sure everything else is ready before cutting the hole or I will have to install a plug instead of the sensor if still using the carb.

On April 3rd I wrote:
I have the fuel “Command Center” installed and have the vent and fuel supply hoses installed on it and in place on top of the engine. I have run the wires from the six-wire harness to the places they go but they are not soldered in yet. I have run the display cable up under the dash but not in place – they supply a suction-cup stand to hold the display but I don’t know if the cable is long enough to use it. [I since moved the cable so it enters in the center of the dash and it is long enough for that].
I removed the carb and tried fitting the TBI onto the manifold but it turns out the general purpose throttle connection lever sticks down below the level of the manifold. Jerry Work said he cut it off but didn’t say how – my only option is a grinder. I sent a message to FiTech asking for advice if any. [Their advice was to use a spacer – I cut it with a grinder].
I also will be needing an adapter plate of some kind. They suggest a Summit Racing (SUM-G1420) which is only 1/8″ thick while Jerry Work used a 1/2″ thick adapter he bought at NAPA and then had to modify his hatch to accommodate it. I had hoped to get away with just the thick gasket I had under the carb but now I will be ordering the adapter after I verify that 1/8″ will work. [It turns out that I needed 3 adapters stacked with 8 gaskets – 2 from FiTech and 6 from Summit].
Some hardware for connecting the throttle and cruise control cables is also needed. Jerry got his at NAPA so Merle’s should have it too [They did not but I did find them on Amazon]. The numbers Jerry gave me for this are Manifold to throttle body adapter – NAPA 735-4930 [this adapter was too tall for my coach], Carb linkage bushing 1/2 to 1/4” – Mr. Gasket 6026 from NAPA, Carb linkage 1/4” stud kit (bolts through bushing on throttle body linkage to accept stock GMC throttle cable) – Holley 20-38 from NAPA. [I used the stud kit but it was too short to use both sides of the linkage bushing so I just used the back of it with the stud.]
I put the carb back on and now plan to get the TBI installed the week of the 11th so I can drive it a little before going to the GMCWS rally three weeks later. [Didn’t make that date either].

On April 13th I wrote:
I finally got back to working on the FiTech installation yesterday (Tuesday) and immediately found out that the FiTech guy who told me that I didn’t need an adapter plate was wrong – it was not even close. I started calling around and found one at Autozone but it was too thick – with gaskets it would be almost an inch thick. I called Don’s Hot Rod and they had one that was the same thickness. I had the NAPA number from Jerry Work for the one he bought so I called them and they said they could have it by 8:00am today so I said go.

When I picked it up I thought it looked a little thick but drove home anyway. I tried it on the coach – Jerry used it so it must work – but it ended up being about 3/4″ thick. It is actually closer to 3/4″ thick than it is to 1/2″. I put it back in the package and ordered 3 of the Summit Racing 1/8″ spacers that FiTech says work. My measurement of the space required for the butterflies on the TB is 3/8″ so three of them should work. I did think of making my own but, other than wood, I don’t know what material I could use. [It turns out that 3 of the Summit adapters was not quite enough but the addition of 4 extra gaskets that are included with the adapter plates and FiTech kit did the trick.]
I drilled a hole in my exhaust pipe for the O2 sensor yesterday and found that the clamps that came with the unit were way too big for my 2 1/2″ exhaust – they were too big for any normal exhaust pipe so I had to buy two more at Ace HW.
I have everything connected and even have the Fuel Command Center primed and ready. I even used my router to give the air cleaner another 1/2″ of space. As soon as I get the spacer thing fixed I will be able to start it up. My son is coming for a visit this weekend – arriving Friday – so I will not get to work on it again until Tuesday. Stay tuned.
On April 20th I wrote:
I ordered 3 of the Summit Racing adapter plates (SUM-G1420) that are 1/8″ thick each. I installed all three of them with one supplied gasket between each metal-to-metal joint and it was not quite enough so I added 4 extra gaskets (2 from adapter plates and two from FiTech) at the top and that did it. That did raise the air cleaner enough that I had to route out the forward portion of the engine hatch by 1/2″ deep and had to give it an extra inch forward. I bought 4 – 5/16-18 1 3/4″ bolts and torqued them to the 16 pounds specified.
On Saturday I installed the throttle body and connected all of the plugs and it started right up and ran nice and smooth. My son was visiting so I decided that was enough “fun” for the day and I shut if off. I locked up and turned the engine battery off and then thought about the installation instructions saying that constant battery power is required. That is so that the unit will have time to record its self-learning data. I turned it back on and went inside to look at the controller and, sure enough, it had been reset. I also noticed that the controller was on without the ignition key being on. I was informed by FiTech that this is normal and the alternative is to disconnect the controller connections (easy to do).
Besides starting the engine I was really anxious to see how the air cleaner and hatch cover fit. I immediately found that installing the fuel inlet at the rear left corner was a mistake – the air cleaner was hitting the inlet fitting. It turns out that the air cleaner has more room at the left front with the inlet pointing just aft of the alternator as usual and that fits fine. I left fixing the air cleaner for Tuesday when my son was leaving.
On Tuesday morning, after my son left, I finished making connections (the fuel vapor cannister hose is 1/4″ and the vacuum inlet is 3/8″) and moving the fuel inlet fitting. Now I installed the air cleaner – the FiTech unit requires a 5/16″ stud to hold the air cleaner and the top of my air cleaner had to be drilled out a little to allow it to fit. I just used a hex nut on the top, hand tightened. This is when I found out the the air cleaner is forward of the center of the recess in the hatch by about 1/2″. I had to enlarge that area and it now fits – I had to push down a little but I think that is due to the new weather stripping I installed at the same time. If necessary, I have a plan to add more space without a big lump in the middle of the floor. I hope I don’t have to use it.
Another problem I have identified is my fuel pump. I have only an electric pump installed just in front of the tank selector valve. A while ago, my mechanic noticed that the pump would not always turn on when the engine was started. I diagnosed it to be caused by the oil pressure switch which is there to shut the pump off if there is no oil pressure – i.e. the engine is not running. Gunning the engine a little just after starting was required. I noticed on the first start on Saturday that the electric pump was not running – the Command Center low pressure gauge was at zero. Given that the Command Center is holding somewhere between 1 and 2 quarts of fuel, a failed electric pump would take a while to notice. I bought a new switch and it seems to be working better.
I took it for a test drive today and I am impressed. When I first started driving there was a pretty familiar hesitation when going from no throttle to partial throttle but by the time I drove the two miles home via some stops and turns it was almost gone – self learning in action I assume. I then drove it to the NAPA store in Marana (to return the carburetor adaptor that Jerry Work used – too thick for my coach) and by the time I got back it was running great. Also, I will have to watch my speed on the highway because it wants to go faster than it used to – I love it. Now if my “vapors” problem is gone it will be worth the effort and money.
I had to buy 4 new bolts to bolt the TBI unit down to the manifold. I think they need to be 1 1/2″.